|
Topic: Setup > Plugins > Shopping Carts > Supported Carts The PrestaShop Plugin is currently in beta test. If you are interested in joining the beta program please contact Customer Services.
Current Version: The Current Cart Connect version is 2.0
IMPORTANT: Download the PrestaShop Plugin Module. Download by clicking here
Installation and setup To install and setup Cart Connect for PrestaShop simply follow the steps below.
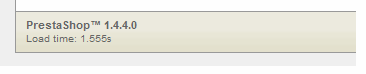
STEP 1: Check PrestaShop version. You can check version of your cart in the footer of administrator panel:
If you are using 1.4 or newer version of PrestaShop go to Step 2, for version 1.3.x jump to Step 3.
STEP 2: Configure PrestaShop Webservice.
IMPORTANT: You have to use version 1.4.4 or newer because of the important webservice fixes in this version.
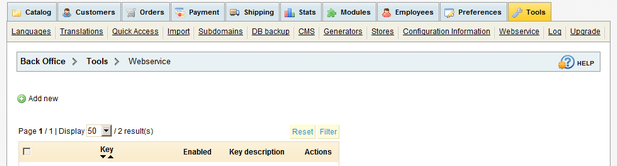
Login to your administrator console and select Tools from main menu. Than go to the Webservice menu:
Next click Add new:
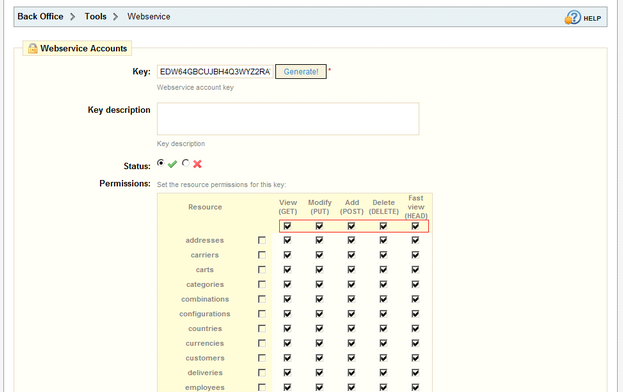
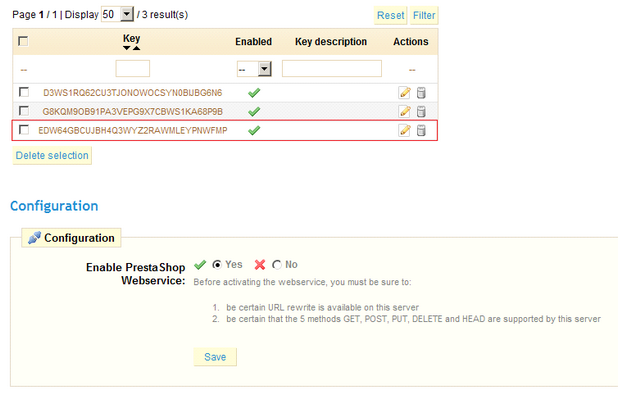
Click Generate button to generate new security key. Make a not of the generated key, because it will be used in the plugin configuration in Step 1.2. Next check all checkboxes marked on screen above. Field Key description can be left blank.
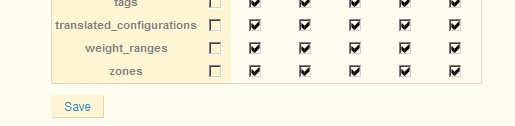
Click Save:
You will see generated security key on list:
Make sure, that field Enable PrestaShop Webserviceis set to Yes. Click Save.
STEP 3: Install and configure the PrestaShop Module.
NOTE: If you already have a version of the Cart Connect Module installed on PrestaShop we recommend the following 2 steps :-
i) Uninstall old version ii) Manually remove folder CartConnect from $prestashop_root$/modules Where $prestashop_root$ root directory of your PrestaShop installation.
Download the PrestaShop Module from the link above, and then upload the module to PrestaShop in the usual way (we are assuming you know how to upload a PrestShop Module, see the PrestaShop documentation for more information).
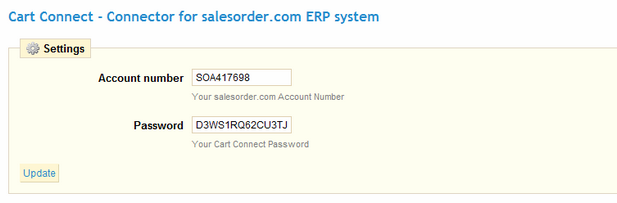
Once loaded go to the configuration screen (below):
To configure Cart Connect in PrestaShop enter your salesorder.com account number together with a suitable password (not your salesorder.com password). If you are using PrestaShop in version 1.4 or above, enter into Password field, security key, generated in STEP 2.Click Update and you are done.
STEP 4: Configure Cart Connect in your system. You now need to setup and configure Cart Connect in your system. You must ensure that Cart Connect is enabled for your system. If not contact Customer Services.
From the explorer go to Setup->Plugins->Shopping Carts and create a new PrestaShop Cart (below).
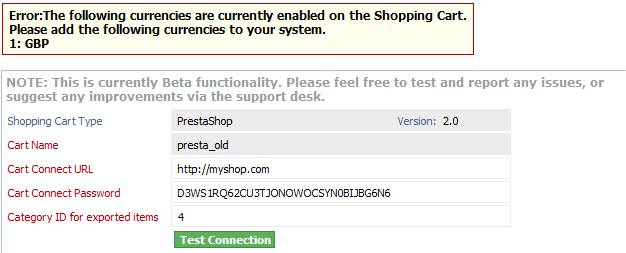
This creates a new Cart Connector to a PrestaShop Cart. To complete the connection you need to fill in a few details as shown below.
Before you can start using the Cart you need to make sure the connection to your Cart is OK.
By clicking on the Test Connection button you can see if the credentials are correct. If they are you will see the message TEST PASSED: SUCCESSFULLY CONNECTED TO CART appear at the top of the page.
It is possible, that you will see error like on screen below:
You have to navigate to Accounting->Multi-Currency->Currencies in the salesorder.com Explorer and add the missing currencies.
Once the connection test is passed you can save the Cart and begin using Cart Connect.
For more information on the general use of Cart Connect click here.
Related tasks and information Working with your Shopping Cart
|